Tuesday, February 22, 2011

Lemon Spritz Flower and Heart Cookies

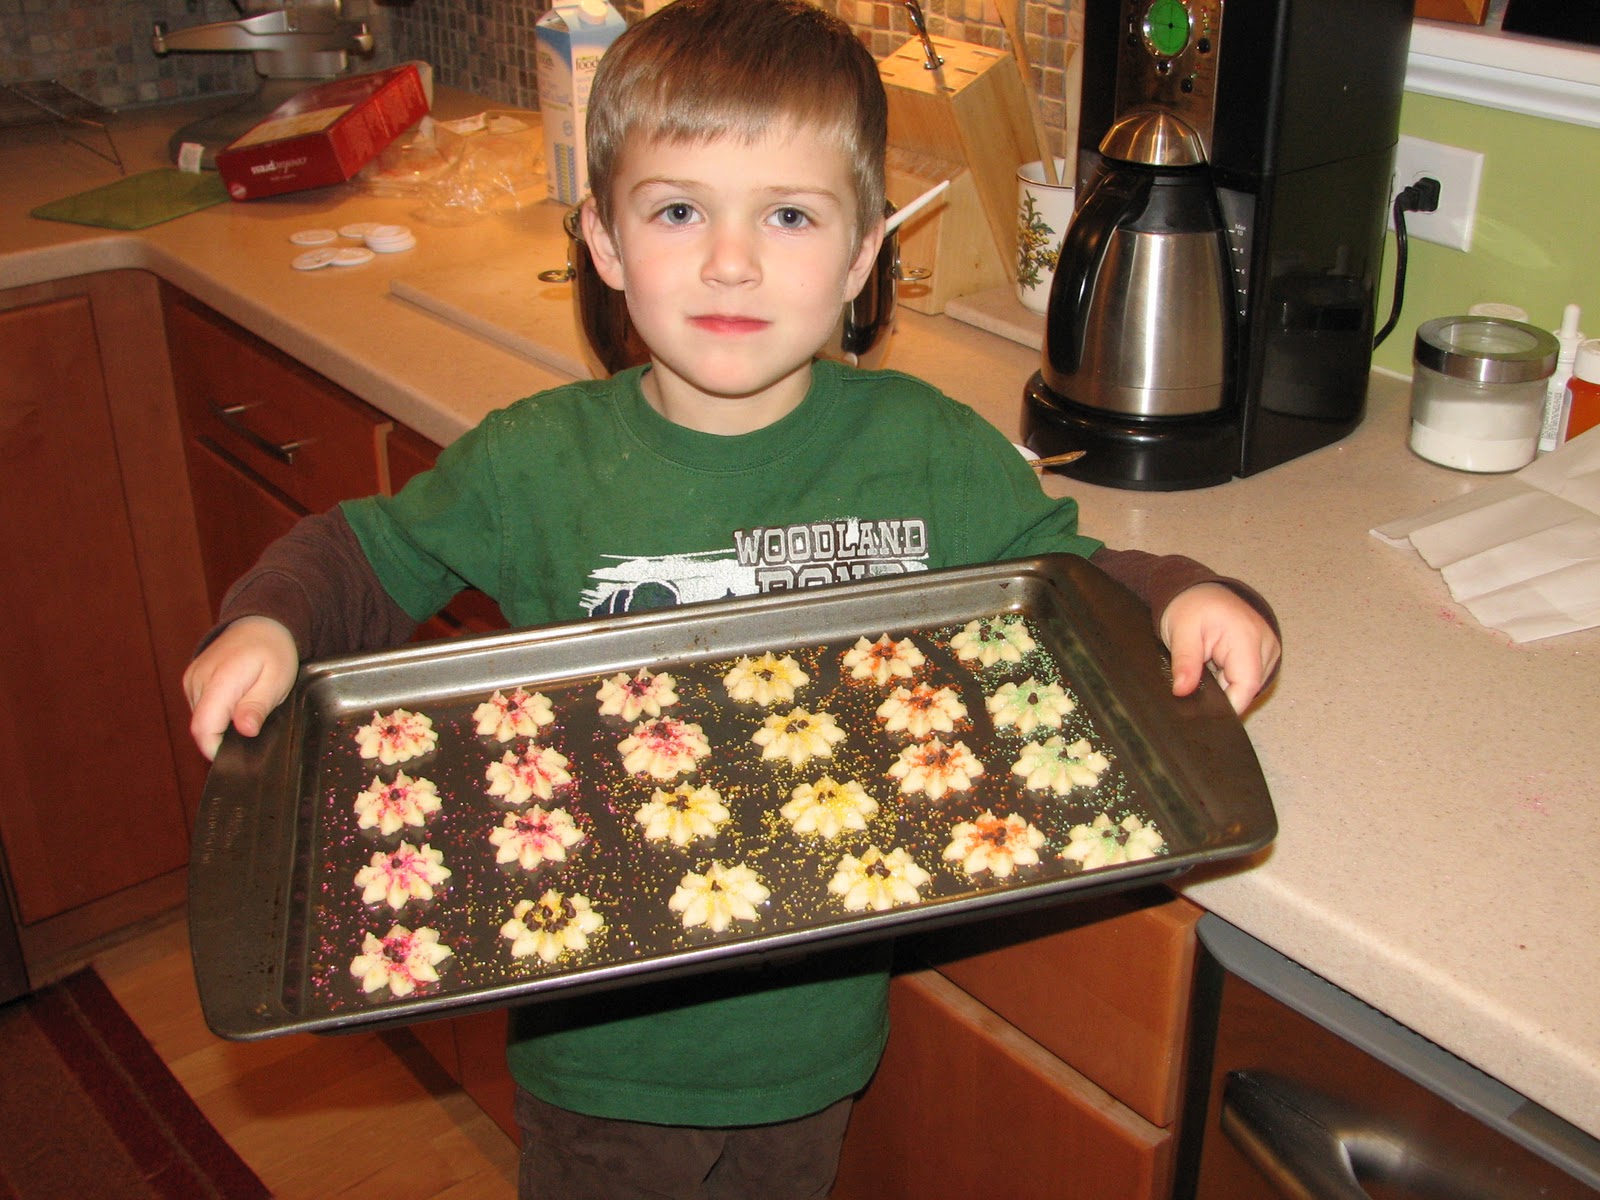
Spritz cookies are usually a Christmas tradition, but the cookie presses these days come with heart and daisy disks that beg to be used for spring and Valentine's Day. Linc was my official decorator--for his usual handling fee in chocolate chips and sugar sprinkles. What can I say? Good help this cute is hard to find.
 As a special treat for Lincoln, I mixed up the usual spritz recipe to make it more like his favorite cookies from the grocery store bakery, a lemon spritz. I have to say, they're pretty darn close and don't have any of that nasty mystery ingredient greasiness. Not that these are health food by any means, with not one, not two, but THREE sticks of butter. Ah well. They're tiny. I'm sure five or six won't hurt. Much.

If you don't have any idea what I'm talking about when I say 'cookie press', here's a photo of one from Wilton for about $10. The model I have is very similar. Two tips to making this press and recipe work--don't grease the cookie sheets and don't chill the cookie dough until after they're pressed out onto the cookie sheets and decorated. Then stick them in the freezer for five minutes while you wait for the previous pan to bake. Freezing the dough once pressed will keep the cookies from puffing up and losing their shape. Also, don't re-use a baking sheet until it's cooled, cleaned with soap and water and dried. That way, the cookie dough will stick to the pan and release neatly. If you find your cookies are sticking to the disks, take a second to run hot water over the disk to get rid of any dough buildup, while it's attached to the press. You should get a nice, clean cookie on the next take. Don't worry, this will all make a lot more sense when you're actually using the press. :-) You can also try the chocolate version of this dough that's on the box (dipped in chocolate would be divine) or use food coloring to color the dough. Other cookie disks in my set include a pumpkin, Shamrock and Christmas shapes.

A cookie press might look or sound complicated, but once you get the hang of it you'll be hooked. How else can you make this many adorable and yummy cookies?


Lemon Spritz Cookies
Makes...too many to count (70-80 is a good estimate)

3 sticks of butter, softened
1 cup sugar
1 egg
1 1/2 Tb fresh squeezed lemon juice
1 Tb grated lemon peel
1 Tb half-and-half or milk
3 1/2 cups flour
1 tsp baking powder


1.) Preheat oven to 375'.
2.) Cream butter and sugar.
3.) Add egg, lemon juice and peel and milk.
4.) Add flour and baking powder, mixing to make a smooth dough.
5.) Drop dough in press by the spoonful, tapping against the counter to help get rid of air pockets. Press out cookies and decorate.
6.) Chill in freezer five minutes before baking.
7.) Bake 8-10 minutes. Don't let them brown.
8.) Cool and move to wire rack to set.

Saturday, February 19, 2011

Easy Bread Pan Lasagna

Easy Bread Pan Lasagna is my solution to my love-hate relationship with this dish.  

To Love: The way lasagna smells when baking in the oven. The crispy outside pieces. The frilly edges of the noodles. The special-occasion-ness of it.

To Hate: Pre-boiling and then working with those darn noodles. I always boil too many or, worse, not enough. Just as bad are those anemic, expensive, no-boil noodles without the frilly edges. And having to bake an entire 9"x13" pan is overkill for our small family.

Then I tried this method of adding water to the sauce and heating it first. Voila! Wait, what's the Italian equivalent for that? Oh well. No more messy pre-boiling the noodles. And instead of one giant 9"x13" pan of lasagna (which you can still do if that works better for your family) I split the ingredients between three bread pans--more crispy, yummy edges, more flexibility. I can bake one pan for my family and have two in the freezer for later in the month. Or, if we have guests, I can bake all three. So if you're feeling inspired to make marinara from my last post, here's an idea for how to use your sauce this week.
Easy Bread Pan Lasagnas
Makes 3 

2 lbs ricotta
1/4 cup parmesan
1 tsp salt
1/2 tsp pepper
2 tsps basil
1 egg
1 jar spaghetti sauce
1 cup water
2 cups shredded mozzarella
1 lb of lasagna noodles, uncooked

Preheat the oven to 350'.
1.) Mix ricotta through egg in a bowl
2.) Pour sauce in a pan; add one cup water; heat on low.
3.) Grease three lasagna pans, bottom and sides.
4.) Pour 1/2 cup hot sauce in bottom of each pan.
 5.) Add one layer of uncooked lasagna noodles, breaking the noodles to fit the pan and overlapping them.
6.) Dollop four spoonfuls of ricotta mix over top of dry noodles. Spread evenly.
7.) Repeat Steps 4, 5 and 6 twice more, ending with dry noodles.
8.) On top of the third layer of noodles, split the remaining ricotta cheese mix across the three pans and spread evenly.
 9.) Tap the pans on the counter to eliminate air bubbles and to make sure the dried noodles are fully saturated in the sauce. Shake the pan left to right, top to bottom.
10.) Split the 2 cup bag of shredded mozzarella between the three pans. Sprinkle with parmesan, basil, salt and pepper.
11.) Bake (over a cookie sheet to catch any troublesome spillage) for 35-40 mins or until the top is bubbly and a knife pierces through without resistance from the noodles.*

*If you're freezing these or will reheat them as a whole pan at a later date, undercook the noodles just slightly. Take maybe 5-10 minutes off the bake time. This means that when you pierce the lasagna with the knife you'll feel the knife pass through the noodles. Before freezing, let the lasagnas cool completely, then wrap with Saran Wrap then foil. For added protection, slip each pan into a gallon-sized freezer bag. They should keep around a month. When you reheat them, thaw in the fridge overnight. Cover with greased foil (so you don't lose your cheese topping) when you bake them in the oven at 350' for about 30 mins.

Tuesday, February 15, 2011

Marinara--less meat, more veg

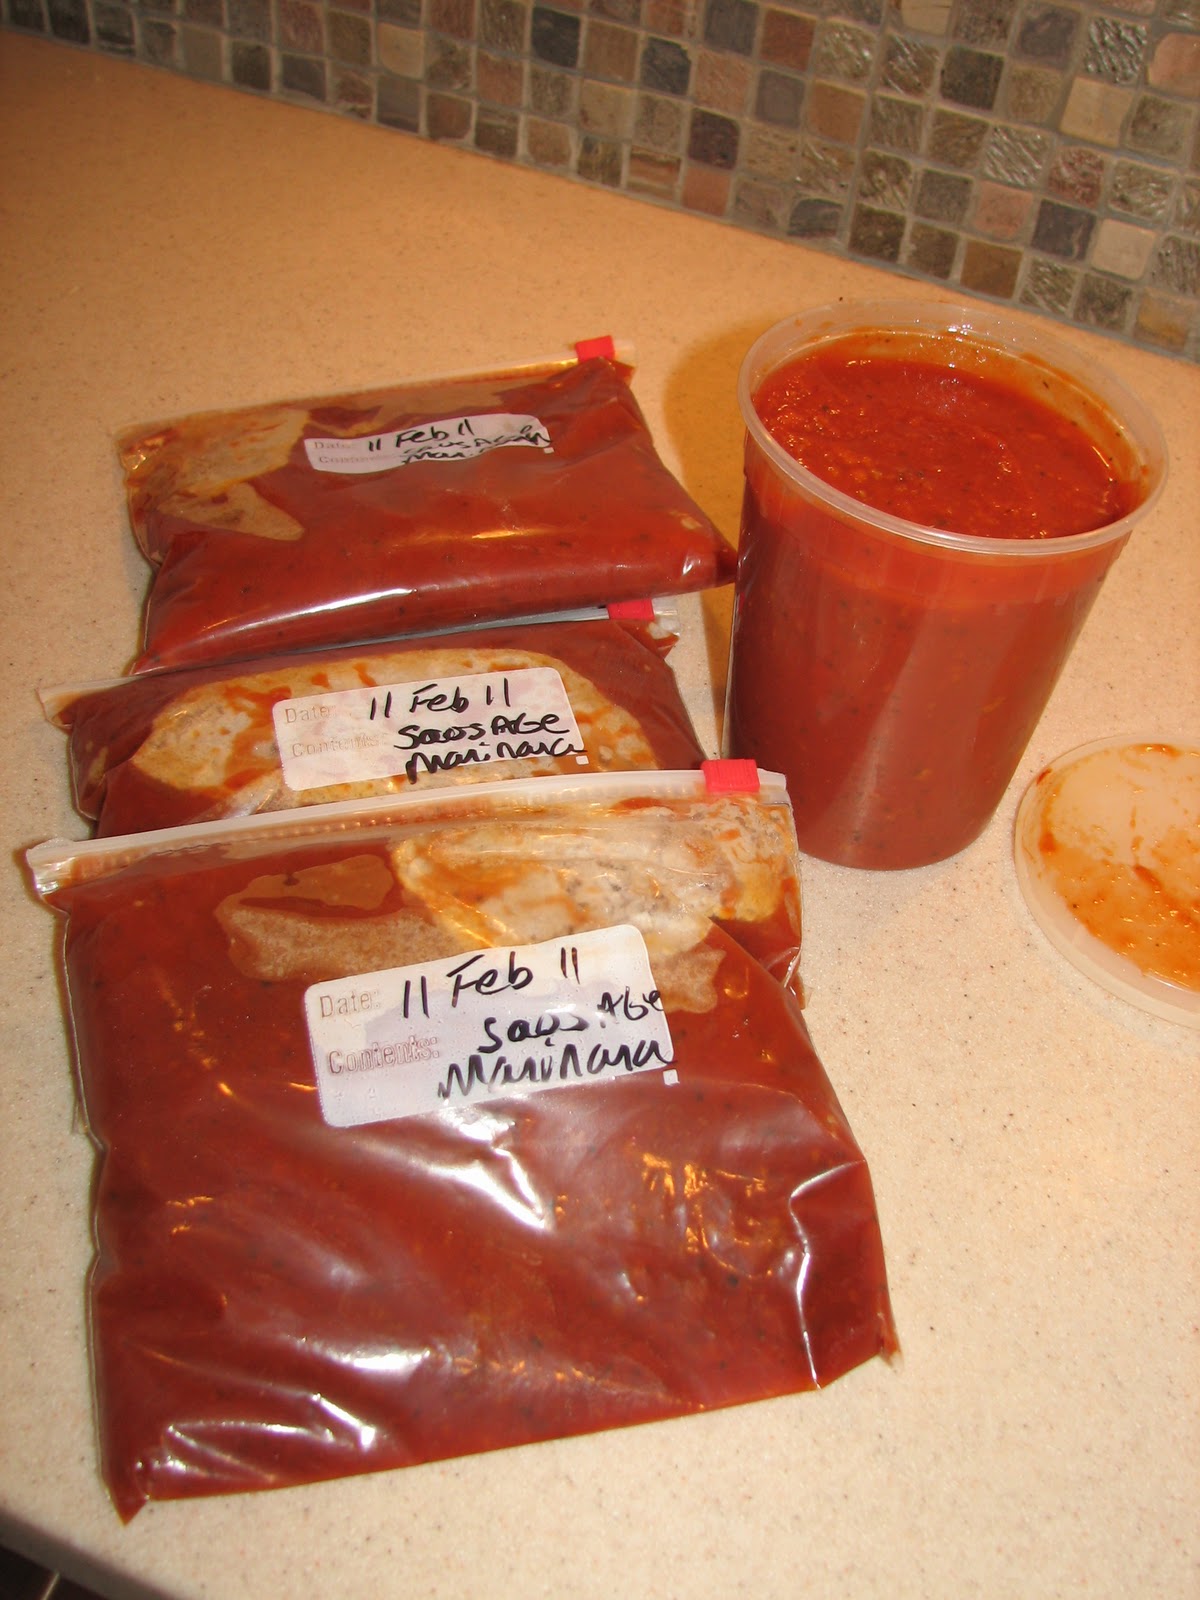
Everyone loves Italian food, and nothing smells quite so good as marinara simmering on the stove top. Garlic, onions, basil, olive oil and, in this case, sausage. Mmm. Toss it on some spaghetti, serve with toasty garlic bread and a salad and you have home comfort food or dinner for company. Bag your extra marinara for the freezer or put some aside in the fridge. This recipe will make about 12 cups of sauce.

My original marinara recipe comes from my mother-in-law. She uses a tri-fecta of meat to flavor her sauce--stew beef, breakfast and Italian sausages, and homemade meatballs---and cooks it for five to six hours. It's absolutely delicious. With trying to cut back on meat at our house I went for maximum flavor for minimum meat and fat with turkey sausage and extra veggies instead with the carrot puree.

I also tried a little experiment on the cook time. We're running low on gas and I didn't want to simmer my sauce for five to six hours. Instead I set aside a quart of sauce that had cooked for just about two and half hours in the fridge and poured the rest into the crockpot. I set the crockpot to low and let it sit overnight. The next morning I tasted both versions and found...that I liked the version that cooked for less time better. Maybe I cooked it for too long or maybe the crockpot just didn't do the trick. One thing Mom does put in this sauce that I had never tried and found incredible was dried dill. Dill gives the sauce a nice fresh flavor.

Long story short, if you don't have time to cook your sauce all day and if you want to cut back on meat and add some extra veg to the mix, give this recipe a try. Thanks Mom for your help in learning how to make marinara from scratch. You saved me from Ragu!

Marinara
Makes about 12 cups

1 large yellow onion, diced
2 cups cooked carrots
1 head of garlic, minced
olive oil, salt, pepper to taste
3 turkey Italian sausage links
6 turkey breakfast sausage links
3 cans of tomato paste (and 3 cans of water)
4-29 oz. cans of tomato sauce (each with 1/4 can of water)
1 tsp dill
1 tsp red chili flakes
1 1/2 Tb basil
pinch of sugar
1/2 cup grated parmesan
 1.) Break up the sausage, squeezing the meat from the links. Saute in Dutch oven or large pot until browned. Drain any fat and set meat aside.
2.) Saute onion in olive oil until soft and translucent. Transfer to food processor or blender.
3.) Add cooked carrot to the onion in the food processor and blend until smooth. Might still be a little chunky. Don't worry, it will cook down in the sauce.
4.) Add tomato paste to the Dutch oven and cook for a few minutes. Fill each paste can with water and add to the pot.
5.) Transfer pureed carrot and onion puree and cooked sausage and cook for one hour.

6.) Add tomato sauce and about 1/4 can of water for each. Add all spices and a pinch of sugar. The idea with the sugar is just to add enough to balance out the strong acidity in the tomatoes. I prefer my marinara more spicy than sweet. Adjust spices to taste.
7.) Add parmesan. I use the regular Kraft grated parmesan. Real parmesan grated into this sauce turns into a gloopy mess.
8.) Cook sauce at least another hour. Serve immediately, refrigerate for a week or freeze for a month.

Tuesday, February 8, 2011

Crazy Monkey Protein Smoothie

My boys get excited when they see the chocolate syrup bottle come out of the fridge at breakfast time, and I love that they're getting lots of protein. Try this shake with a yogurt and soy milk/milk combination if you don't have kefir on hand. Don't tell the kids but I also sneak cooked sweet potato or carrots in this when they're not looking. They've never noticed! For easy cleanup, use an immersion blender like the one pictured below. They have fewer pieces to clean up than a blender.

Crazy Monkey Breakfast Smoothie
2 bananas, peeled
2 Tb chocolate syrup (I've also used 1/2 packet of hot cocoa powder)
2 heaping Tb smooth peanut butter
kefir (or 1 cup of plain yogurt and milk or soy milk)

1.) Place bananas, chocolate syrup and peanut butter in blender cup.
2.) Pour kefir until cup is 3/4 full. Blend until smooth. Serve.


For more recipes visit www.feedingfourfood.blogspot.com.

Monday, January 24, 2011

Chocolate Pecan Biscotti


Biscotti is Italian for "twice baked," which is exactly why these hard cookies are easy to store long term or ship as gifts and are perfect for dunking in a hot cup of coffee in the mornings. This recipe has more of a shortbread texture than the pre-packaged biscotti you get at most coffee shops.


TIPS:
  • For smaller biscotti, use two cookie sheets and form the dough into three or four smaller logs. Adjust bake time accordingly. I prefer big, meaty biscotti like these, so I bake as two logs. 
  • I sometimes bake the logs the night before, let them sit out on the counter to harden overnight, then slice and bake the second time the next day if I have time.
  • Try all kinds of different variations for this recipe. One of my favorites is slivered almonds with 3 Tb aniseed and almond flavoring. Another is to add 1/2 cup cocoa  powder and reduce the flour to 3 cups for a chocolate biscotti. Add dried cranberries or cherries. 
  • For an extra yummy touch, dip half of each biscotti in melted chocolate and let set on wax paper. The possibilities are endless.  
Chocolate Pecan Biscotti
 Adapted from the Aniseed Biscotti recipe in the 2005 Taste of Home Annual Recipes cookbook.
When baking as two large logs, this recipe makes about 16 large biscotti.

1 cup butter (2 sticks)
1 cup sugar
3 eggs
2 tsp vanilla
3 1/2 cups all purpose flour
1 1/2 tsp baking powder
3/4 cup roughly chopped and toasted pecans
1 cup (6 oz) good quality chocolate chips

Preheat oven to 325'.
1.) Cream butter and sugar. Add eggs, beating well after each. Beat in vanilla.
2.) Combine flour and baking powder. Beat into wet ingredients.
3.) Using a spatula or wooden spoon, mix in pecans and chocolate.
4.) Divide dough into two large "logs" on a lined baking sheet. Bake for 25-30 minutes or until lightly browned and sounds hollow when you tap lightly on the top. Let cool completely.
5.) Transfer to cutting board and cut into 1" slices with a long, thin serrated knife or butcher knife.
6.) Places slices cut side down on baking sheet and bake an additional 10 minutes. Turn over and bake another 10 minutes until both sides are lightly browned and cookies are hard.
7.) Let cool on wire racks. Cookies will continue to harden as they cool.
8.) Store for one to two weeks.

Thursday, January 13, 2011

New Year's Food Resolution: More Veg, Less Meat

One of my New Year's resolutions is to eat less meat and make the meat we do use go farther. I want us to eat healthier; and I want to spend less money on groceries. So this week I spent $10 on bone-in chicken breasts at Lowes Foods ($.97/lb) and in about an hour (not including cook time) turned 12 bone-in breasts into 24 medium boneless chicken breasts, 12 chicken strips, 1 gallon of chicken broth and 4 cups of cooked, shredded chicken. Here's how I did it:

Each bone-in breast will give you one large boneless breast and one chicken strip or two medium breasts and a strip. Start by pulling back the skin. Use your knife to separate any membrane from the meat that you can't loosen with your fingers.

You'll need a sharp, thin knife to knock these out quickly. Turn the breast so the skin is flopped over the left-hand side and the meat is on top. You'll feel a hard, flexible line of cartilage on the right. If the breast isn't already pulled away from the cartilage use your knife to cut it away.  You should be able to see where the breast is now separating from the bone and there's a small, separate strip of meat underneath. Cut away the breast. It will be oblong and tear shaped, thicker at the top and thin at the bottom.


 Now that the breast is gone you'll see a small, long strip of meat separately underneath the breast. Use your knife to gently cut the strip away from the bone/cartilage. Cut away any ligament or bone.
 You should now have one large breast, a strip, and the remaining bone/skin/meat. Using a mallet gently pound the thickest part of the chicken breast to an even thickness. Cut the breast into two pieces and set aside. Cut the skin from the remaining bone and discard the skin; save the bones for making broth.
Place the remaining bones with meat in a 6-quart pot. I use a pot that comes with a built-in strainer. Fill the pot with cold water just so the bones are covered. Add three stalks of celery, washed and snapped into three-inch pieces. Peel a yellow onion,cut it into four chunks and add to the water. Add 4 or 5 Tbs of sea salt and 8 to 10 black peppercorns. Bring the pot to a boil. Reduce heat and simmer another hour. Remove from heat, lifting the straining pot with all the vegetables and meat, leaving only the broth in the pan. Place the broth in the fridge or freezer until you're ready to use it. I skim any of the fat off the top before freezing. Discard the vegetables and using your fingers, pluck any remaining cooked meat from the bone and set aside the meat. Discard the bones.

Cutting back on meat will take some dedication. Stretching $10 of chicken is one part of the process. We'll also need to actually eat less meat and replace it with healthier proteins, fruits, veg, grains etc. My goal is not to deprive us by any means, but to make more conscious decisions about what we're eating and where we're spending our money in 2011. In some future posts I'll update you on how we're doing and share meal recipes that either 1.) stretch a little bit of meat to feed four heartily or 2.) skip the meat altogether. I'll also be posting lots of baking recipes. I love to bake when it's cold like this, and what's life without balance?

Monday, January 10, 2011

Make me cookies you will!

More than anything, my five-year-old wants one of those T-shirts that says, "Come to the Dark Side...We have cookies!"  Well, now we really do have cookies on the dark side. One of my favorite Christmas gifts this year was from all my boys--the Star Wars Heroes & Villains cookie press set from William's Sonoma. Once I looked at the beautifully frosted cookies on the box I knew I would have to work out some other way to decorate them. I mean you have to have just the right green for yoda and it isn't the same green as Boba Fett. And how unappetizing is Darth Vader in all that black frosting? So after doing a little research online, I decided to doctor the recipe that came with the kit by adding 1/2 cup cocoa powder and 1 Tb instant coffee granules (to enhance the chocolate flavor) for an Oreo-type cookie. Then I whipped up a buttercream frosting for the filling. OMGosh! Fabulous. Of course, you don't have to use this cookie press. Any cookie cutter will do. Just be sure the image is symmetrical (I think that's the word I'm looking for), so the top and bottom cookies match up. For example, Boba Fett has a little pipe on the left-hand side of his helmet that was on the right-hand side on the bottom cookie, but Vader, the stormtrooper and Yoda worked perfect.

REVIEW: So if you're thinking about buying this set from Williams Sonoma, here's my two cents. I like them. They're $20, but if you have a little Star Wars fan (or a big Star Wars fan) in the house they're fun to have around. I can't wait for his birthday party this year. I feel a Star Wars theme coming on. Lincoln had a great time using them with me. I had to help a little because the dough is pretty stiff. They clean up well and although they don't come with a container, they fit easily in a quart-sized freezer bag for storage. I also kept the recipe info and cut out the small picture of the frosted cookies on the back of the box to keep with the presses for future reference if I decide to tackle actually frosting them.

The Dark Side Filled Cookies
2 1/2 cups all purpose flour
1/2 tsp salt
1/2 cup cocoa powder
1 Tb instant coffee granules
1 1/2 sticks butter (12 Tbs), room temperature
1 cup granulated sugar
1 egg
1 1/2 tsp vanilla

1.) Preheat oven to 350'. Line three cookie sheets with parchment paper.
2.) In an electric beater, beat the butter until smooth, 2 mins. Slowly add the sugar and beat until light and fluffy, 2 mins more. Add the egg and vanilla, scraping the sides to thoroughly combine.
3.) Combine the flour, salt, cocoa powder and coffee granules in a separate bowl. Add the flour mixture to the butter mixture in batches until a stiff dough forms.
4.) Turn the dough out onto a floured surface and shape into two balls. Wrap each ball in Saran Wrap and refrigerate 2 hours to 2 days.
5.) Remove the dough from the refrigerator one ball at a time and let stand 5 minutes. Roll the dough out onto a lightly floured surface (Try using powdered sugar instead of flour) until 1/4-inch thick.
6.) Using the SW press or a cookie cutter, cut out the shapes as desired and transfer to the pans. Be sure to cut out two of each shape so you can make a sandwich with the same images. For the SW presses, I lifted the dough into my hand while still inside the press and pushed the plunger again to get an extra clear imprint of the faces.
7.) Place the cookie sheets with the dough in the freezer for 5 minutes to avoid spreading and puffy cookies.
8.) Bake in the preheated oven for 10-15 minutes, depending on your oven. Remove from the oven and let cool on wire racks while you make the frosting.

Buttercream Filling
1 stick of butter, room temperature
2 cups powdered sugar
1 tsp vanilla
milk or cream, 1 Tb at a time

1.) Beat the first three ingredients until well combined.
2.) Add the milk or cream 1 tablespoon at a time until you get a smooth but thick consistency to your frosting, just thin enough to be spreadable but not so thin it will run off the edges of the cookie when you press them together. Transfer the frosting to a quart-sized freezer bag and cut off one small corner of the bag to use for piping.
3.) When your cookies have cooled, pipe a nice big blob of frosting on the blank side of the cookie and press the other cookie together. Let sit a few minutes to firm up before eating. 

~~~~~~~~~~~~~~~~~~~~~~~~~~~~~~~~~~~~~~~~~~~~~~~~~~~~~
For Christmas, Lincoln got the LEGO Darth Vader Tie Fighter with Vader mini-fig. Just had to include. He's very proud of his handiwork.I also found this great Star Wars snowflake for my background this month.
Related Posts Plugin for WordPress, Blogger...